The dungeons of Edron were many and spread out over the island. Just southwest of the main town was a section of the island which was blocked by heavy tree cover. Accessing this area required you to find the hidden entrances elsewhere.
To access the northwest part, as they were two separate land masses, you had to head to the depot and take the ladder inside the castle wall to the southwest, and then through the sewer grate. From here you would travel along a dirt path, encountering Rats along the way, until you found yourself at the surface once again. The hole you came out of could be accessed again as a dropdown hole which was out in the open, but still slightly hard to find on your way back out again.
Heading north would take you to a cave which was a large three level Troll dungeon. There was a junk heap inside which spawned the rare Iron Piece for your Warlord Sword fund and I think you could also find a small gem, maybe a Small Amethyst here. There were many ways to get to the floors below with the lower most floors being single rooms with multiple Trolls inside. This dungeon was popular for low leveled players as it offered a huge spawn which was relative safety from anything dangerous. Unfortunately, it also became a popular spot for PKing once Premium became easier to get.
If you headed south on the surface, you would find a huge Goblin dungeon inside a cave. There was a staircase and ladder which took you up two floors to two Goblins and an open rock pile which took you to the massive dungeon below. Inside was three full floors of Goblins. This was different than the Troll cave in that the paths were narrow and connected so it felt like a maze. The final floor was four different separate areas which each had a theme. To the northwest was an area devoted to White Mushrooms which spawned all over the floor. East of this was the Goblin throne room complete with a red carpet on the muddy floor, and some wasps would also spawn inside. To the south was large Bug dungeon which also oddly had Troll bodies all around the area. West of this was a room of fire fields and a few Goblins. Some of Tibia's dungeon designs were not only practical but interesting to explore.
To access the southwest part of Edron, you would head to the basement of the south flat complex just south of the castle grounds. A grate in the far room would allow you to enter a short tunnel before you appeared on the surface. To get back you would need to open the lose stonepile which was hidden under a tree so hopefully you brought a shovel. The island was mainly comprised of different basic Orcs and some Poison Spiders. To the south was what might have looked like rafts, but I am not sure the significance of these. Inside the rocky hill to the east of them was a staircase leading down into a large Orc dungeon.

Immediately upon entering the dungeon you would see a large rock wall which blocked your path. A smaller rock could be moved by flicking a switch on a counter which you could reach from the stair side but could flip from either side. The entire dungeon spanned four floors with many debris pits to sift through. There was a 5th floor which had a GS in a sort of pit, and what looked like human bodies which let you know you wouldn't be the first to face this creature and loose. Perhaps the orcs liked to throw trespasses like yourself into the pit? This area also had a strange bug mosaic in one of the rooms which seemed to indicate that many of the Orcs were worshiping the Poison Spiders here. In any event the dungeon was pretty good place to level as it was much easier than Orc Fort as it lacked the difficult congestion of the castle. There were much fewer of the harder Orc Beserkers here so it wasn't a profitable, but was more like a pre Orc Fort dungeon.
Back at the central mountain, if you looked immediately north of the staircase leading up into the central mountain, you would see NPC Avar Tar. He was dressed as a hero/GM and would boastfully inform you on topics of adventuring, like Ferumbras, Beholder Language, and of Excalibug. After getting bored of his fanciful speech, you could head into the mountain and out the other side to encounter the bulk of the island's dungeons.
.jpg)
This area was densely packed with trees which made it difficult to navigate as several enemies lurked under the canopy such as Bears, Wolves, and Deer. Immediately to the northwest was a lose stonepile which took you all the way back to Stonehome to the spot by the graveyard we talked about earlier.
Heading east took you to a path cut inside the mountain which led to a hole leading down. Down the hole was a strange lake and Skeleton spawn which also had a red book in the middle of the lake on a rock. Going deeper inside the dungeon you would find an odd graveyard with Skeletons and Ghouls and a strange switch hidden inside a wall. This was one of the mysteries of the game and decades later it still has retained its secrets. Below this was another hole which had Ghouls.
If you headed north, you would come across a firepit with Hunters. This was a dangerous place and players mostly avoided it as it was easy to get trapped in the trees by Wolves while getting shot at by the hunters. If you made it to the rocky hill behind the firepit you would find a multilevel undead hunting spot with a dilapidated house and basement. A spooky graveyard could be seen on the hill surface, though no names were visible on the graves. Another graveyard could be found northeast of this on the surface which also spawned some undead creatures, and provided no clue as to the graveyards Ghoul and possibly DS or Skeleton inhabitants.
To the far east of this side of the island was a rocky cave which spawned several Cyclops on the surface. This place was called Cyclopolis, and was a difficult entrance to navigate as you couldn't see well with the rocky roof, but a staircase led down into a large dungeon which was extremely popular. Inside was a grey tiled floor which was unlike any other dungeon as it allowed players and monsters to run quickly which made it a fast-paced dungeon. Cyclops and Dwarves of all kinds could be found on this floor inside rooms which were interesting to explore. Strangely there was one set of four rooms to the north which had Elves, Orcs, Wild Warriors, and Minos hatching some unknown scheme.
The next three floors down were mainly Cyclops, but one room had a ton of Iron Pieces so players would often swing by and pick these up. You would also encounter the new Fire Elemental just before this room, so it was a nice diversion, even if the monster was dangerous and dropped no loot. On the fourth was a room which had tons of Giant Swords hidden behind a lava pool which seemed to be owned by the Cyclops. These were not accessible, but the weapon was rare, so people drooled over the room. A room with chests nearby also enticed players but was also inaccessible though the portals which surrounded it caused many adventures to dream of what hidden treasures might lay inside. Before you could enter the fifth floor you would find three Fire Elementals clustered around the exit which was quite difficult. This point marked the end of the easy upper dungeon and provided the high-level dungeon below.
This dungeon was one of my favorites as it was interesting to explore and offered a ton of variety. The Cyclops has historically been a popular monster and I enjoy killing them. I would kill the monsters on the first floor and make my way down to the first Fire Elemental before turning around and killing them on the way up. If this spot was full, I would head lower to the lower rooms and again stop before the Fire Elementals that led to the harder floors below. This dungeon could often support several players due to how slow players killed monsters.
The fifth floor was populated by two Dragons and a couple of Fire Elementals. At least one of the Dragons would surprise you went you went down as the room was quite dark so it would be a surprise to get hit with a sudden magic attack, lighting up the room briefly in the process. Below this floor was a huge open cavern, and players would find themselves on a large stone platform which overlooked the floor below. Taking any of the two staircases down led you to another platform ledge which also overlooked the lower floor. From this point you could drop parcels over the edge and jump down almost anywhere along the path. Taking the stairs down again would otherwise lead you to a huge open space with Tibia's newest powerful monster, the Behemoth.
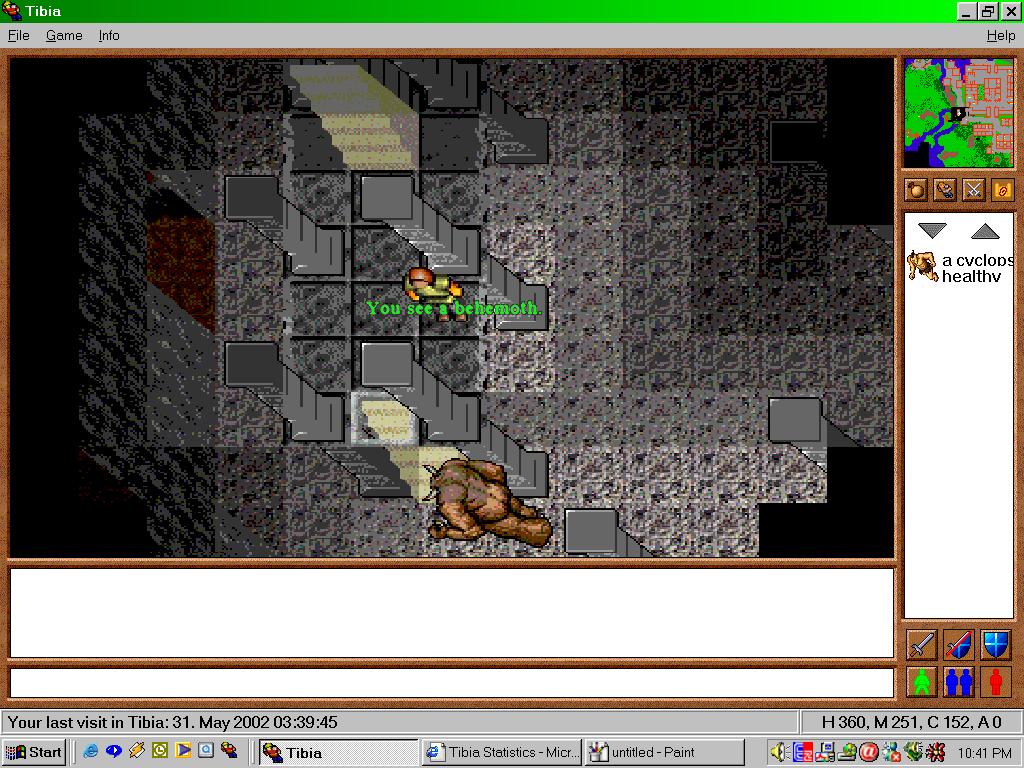
This lowest floor was massive and provided the new Behemoths, Cyclops, and some Dwarven Soldiers to kill which could be easily fatal if too much was lured to the stairs. If you were brave, you could even go into the six spiral arms which had more Behemoths and stairs which led up to smaller rooms with again more Behemoths. This was considered near impossible as you could face up to four Behemoths in the small upper rooms which was more than anyone in Tibia could handle at the time.
Behemoths hit very hard but were worth a lot of experience and their loot was some of the greatest in game, offering both the expensive Giant Sword and Steel Boots which were important upgrades to knights, the most popular vocation. Sometimes they dropped the very rare Green Spell wand which was a rarely seen decorative item.
Very early into their introduction, it was discovered that the best way to handle them was to avoid their melee which could be very deadly and run them around objects or people. Creatures did not retarget once they attacked so you could lure them around while others hit on them, avoiding their most damaging attack. Mages would stack at the stairs while a knight or paladin ran them around, though if the blocker got kicked the players by the stairs would have to rush up the stairs before they were smoked by the brutal Behemoth melee. The blocker was not damage free either as they would still pelt you with stones which still did considerable damage but was manageable if you avoided luring other monsters which was difficult to do. These beasts were very fast and could cast haste which eliminated the gain on luring them around the map for a shot bit. It was very expensive to kill even one of these and it took a lot of time to chip away at their high health.
Players changed their strategy to take advantage of large monsters' unwillingness to move diagonally. Two players would stand diagonal to the lower stairs so another player, usually a paladin, would push themselves between the pilar and another player. The Behemoth would stop once the player was blocked and run back in the other direction while the player would push themselves diagonally in the opposite direction once it got close. This would cause the monster to move back and forth without hitting the player with its up-close melee. It was not uncommon to see Uh laid out on the ground for the paladin to use while still targeting the monster.
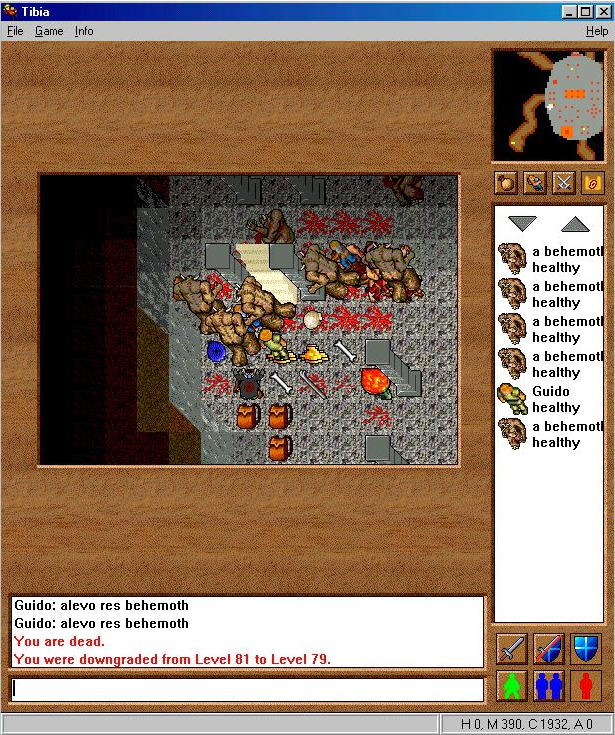
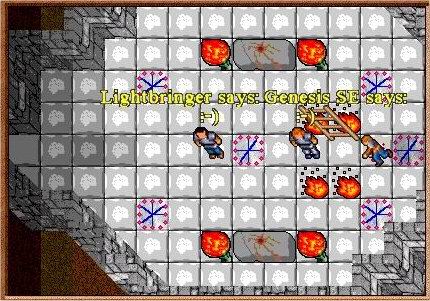
This strategy was so effective that this article from Pepelu and Halfhigh mentioned that Guido had been checking the online kill statistics and couldn't believe so many of these were killed. When Guido showed up to see what was going on he saw how they were being killed and summed some Behemoths, killing the two players. Not very long after these monsters were adjusted so they would target other players, eliminating this effective strategy. Most players, myself included, used this method to reap major profit as everything about a Behemoth was profitable.
While hunting the area you would notice a huge rock wall to the north which blocked off the stairs. This was a quest and the switch to lift the boulders could be found by either heading up the southmost staircase in the main room or taking the far east staircase down from when you first dropped into the cavern. Heading up the lower platforms took you to a single Dragon Lord which guarded the switch in a small room.
The room which could be accessed was up two floors and was dangerous as it had two dragons, a priestess, and four behemoths at once which would mob you at the stairs. If you managed to clear this room, there was two chests containing a Tower Shield, Naginata, Crystal Ring, Gold, Small Amethyst, and a Life Ring. Originally it was believed that once per map reset a Thunder Hammer spawned in the room too. The real benefit to this area was you could flip the switch and let in your mage friends and close the switch again. They could shoot spells through the wall, but the Behemoths couldn't shoot back at the mages. This meant you could use a blocker to lure the monsters while allowing mages to level with minimal risk.
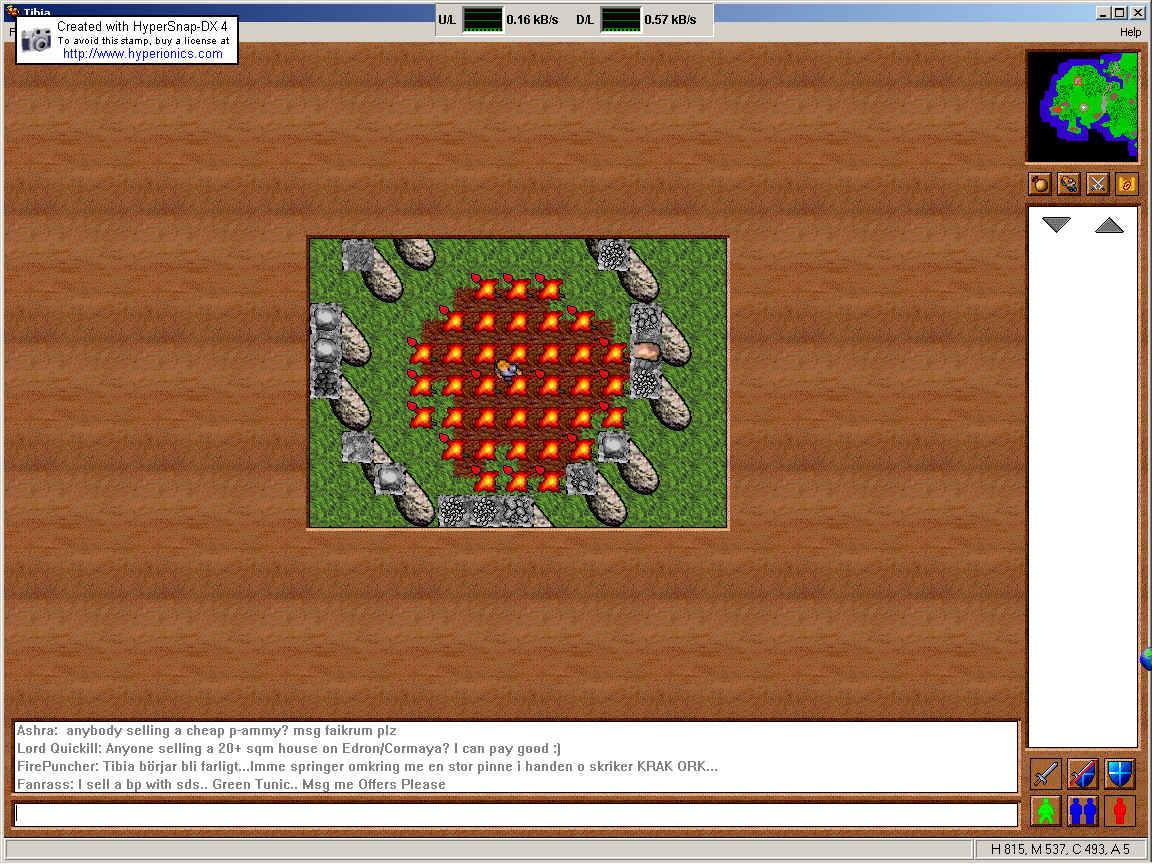
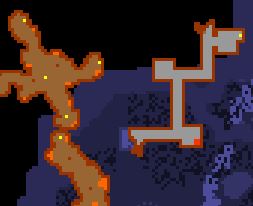
Back on the surface you could continue heading northwest through the small line of trees between the water to the south and abandoned house on the hill to the north. Strangely you would find a ring of white mushrooms which spawned just beyond this natural border. Continuing through the dense trees to the west you would find a stone circle ring of large stones which looked like Stonehenge. Players liked to practice their UE spell here, as the UE spell was now reintroduced to the game and fit perfectly within the circle. North of this was the very odd Poison Tower which had no entrance but had strange poison clouds near the top which you could see. Depending on where you stood you would see rooms inside and stairs but there was no way to access this tower. This didn't stop players from trying all kinds of ideas to try to get in and it has remained a solid topic of discussion in the many mysteries of Tibia forums.
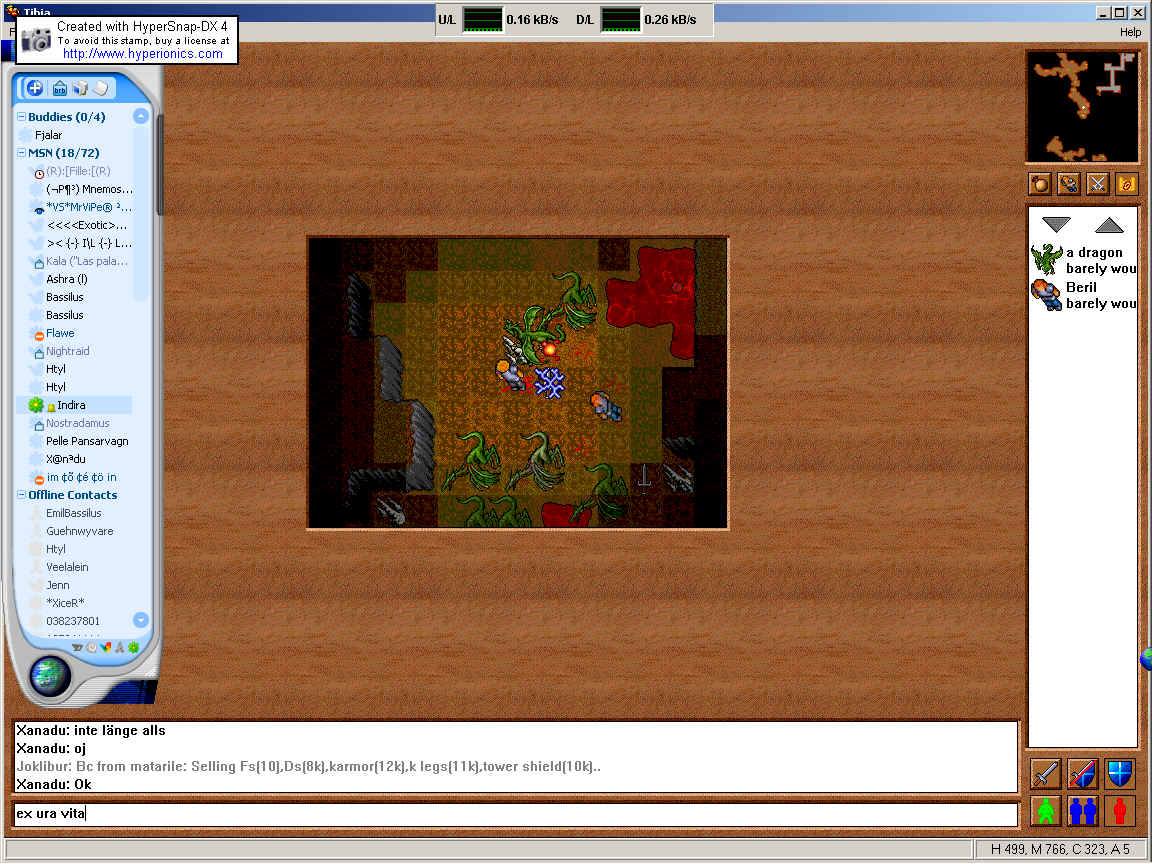
At the far west side of the island was a mountain like rock which had a passage inside with stairs leading up to two dragons on a rock ledge and stairs to a dungeon below. The area above spawned two Dragons on an open rock platform and two mini cave looking things. Down below was a series of passages which had many Dragons. Running them in this room was a bit of a challenge as you had to avoid the random fire fields on the floor. You would travel north on the first path and encounter a couple of Dragons before you dropped down into a small room. Roping yourself up the other side would set you on a path which led north to the central room which had more Dragons and paths leading in three other directions which had even more Dragons! Each of these paths had a hole you could drop into which was a small room that of course had more dragons.
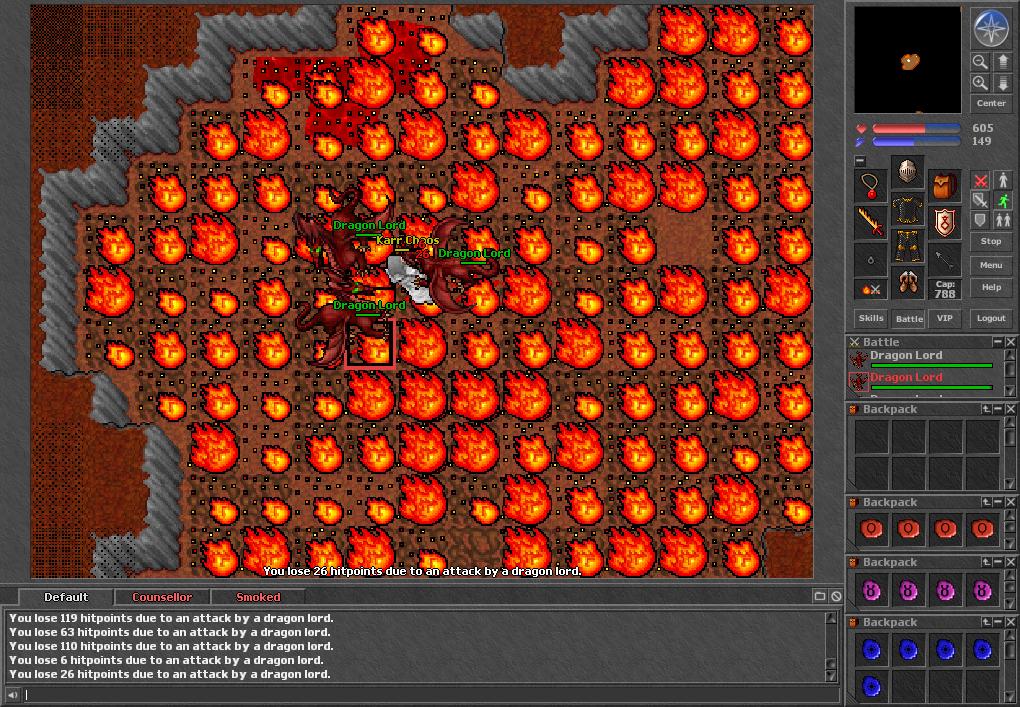
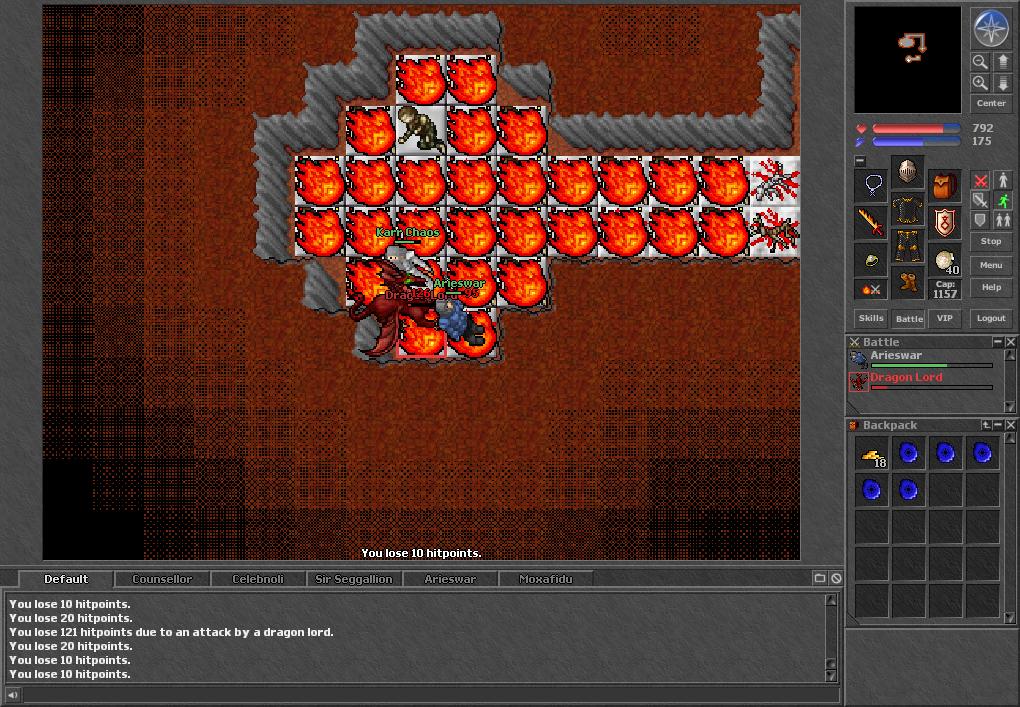
In the central room was a passageway down which was all fire fields and a Dragon Lord spawned. Dropping down two floors would lead to a dangerous dungeon that was all fire fields and spawned three Dragon Lords. This was very tough to tackle as you had to fight them all at once and a well-timed attack could be deadly. Some players tried to rope them up, but it was still tough to get them to line up to the hole. After you had killed all of them you could pick under one of the fire fields in the middle to reveal a hidden room underneath. There was a skeleton body that spawned in the room which I think had a Fire Axe, the new powerful one-handed axe weapon available to loot.
.jpg)
If you headed north at the white mushroom spawn, you would find a cave with a firepit just outside. Wild Warriors and Hunters would attack you, but if you killed them or slipped by into the cave behind it, you would find another large underground dungeon. Winding your way through the dirt passages below would take you past several different creatures including the very annoying Priestess which would suck away your mana while you traveled through. Players would also bump into the Beholders which sometimes filled the cave up with Skeleton summons. All of this blocked your path to slow you down.
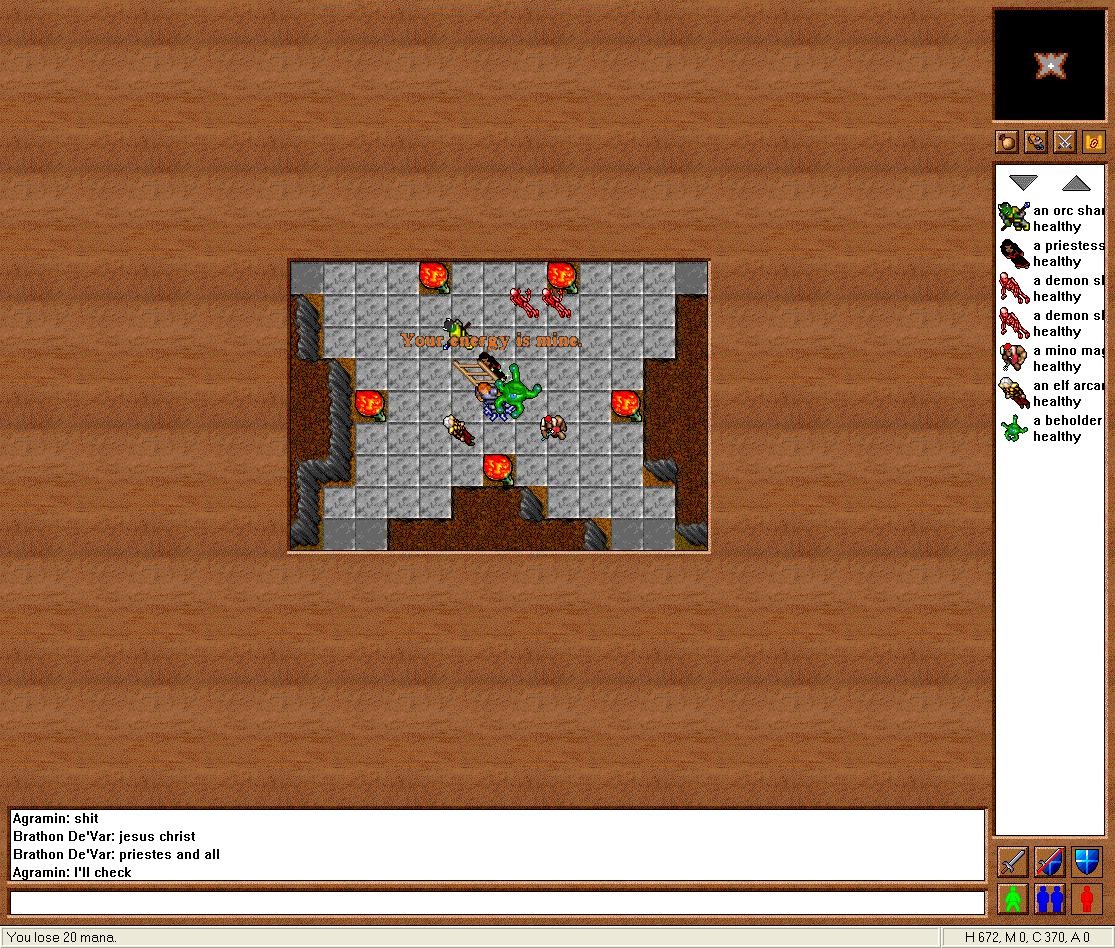
Once you dropped down from the Beholder area you would be attacked by the new Monk. From here, traveling east took you on a black marble walkway to a split in the hallway. Heading south then east would take you past a strange multi-level room which had brick and beige walls in a strange pattern. Ignoring this room for now you might head east again, across a narrow wooden walkway to a deep lava river and then a ladder that led to a star shaped room. This room had five floor switches on the points and a Beholder, Priestess, Elf Arcanist, Mino Mage, Orc Shaman, and two DS spawned in the room. Players tried everything to get the switches to depress and thought there was some secret to the area, perhaps even involving clues found in the previous strange wall room. A rumor was going around that the new Tomes had something to do with the puzzle, but they were far too rare for players to obtain to test this theory. It was at this point that I wanted to find these tomes for myself to test out a solution here. Unsurprisingly it would take a long time before anyone had gathered the tomes to try this out and of course, like most of Tibia's mysteries, it resulted in nothing.
Heading south on the way back took you to a ladder which led down into a room with debris and a passage further down which couldn't be accessed and a passage up a couple of floors which led to more rooms and an empty library. Suspiciously the hall ended right below Poison Tower and players tried everything to see if they could find something from this point. Heading south at the two stairs led to a small broken path that had a drop-down hole. Entering this would find you face to face with the Giant Spider.
Back at the Monk you could head north and down a hole at the passageway split and find yourself in a large room which was blocked by stalactites which you could navigate around. Three Dragons spawned in this room who would shore magic at you while you tried to get close to them. A hole in the middle of the room let you drop down to a room and passageway containing more Monks and your first Hero. These fallen heroes were some of the stingiest monsters in Tibia but offered reasonable experience and luck-based loot. Very rarely they would drop the much sought-after Crown set pieces which was some of the best armor most players would find. More often then not you would only get a piece of two in an entire hunt and nothing else but a little bit of gold.
In the hallway was a broken path to the west which led to a Beholder and some DS. Taking the hole down would lead you to some Monks, Priestess, and Wild Warriors which would immediately assault you at the steps. Once beaten, you could head south to a large room that had a larger Hero spawn, consisting of two. To the east was a path which led down to a platform with DS and Fire Elementals. Everything around here was surrounded in lava and fire, but there was a dilapidated house though no way to get to it.
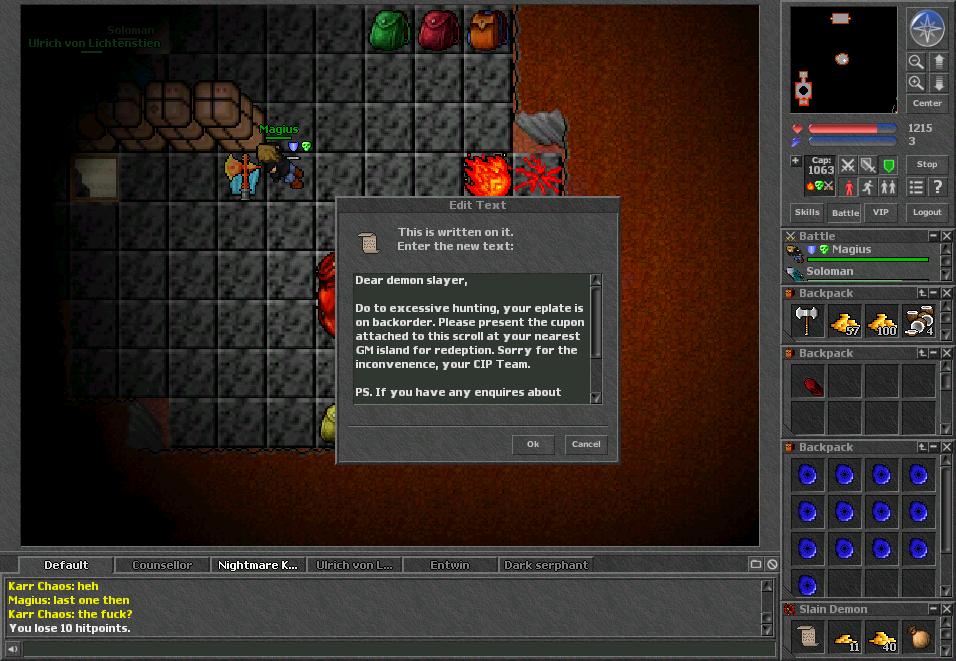
There was one other secret that players would stumble across, though it took some time for them to find it. A secret hidden pick spot allowed players to access an underground passage on the path to the heroes. Picking the hole led to a room with a staircase down to a lava area that was grey gravel. A thin path led to a larger room where a coffin sat with a yellow parchment on it. The parchment said the below:
"Buried forever that he shall never return. Don't remove this seal or bad things may happen."
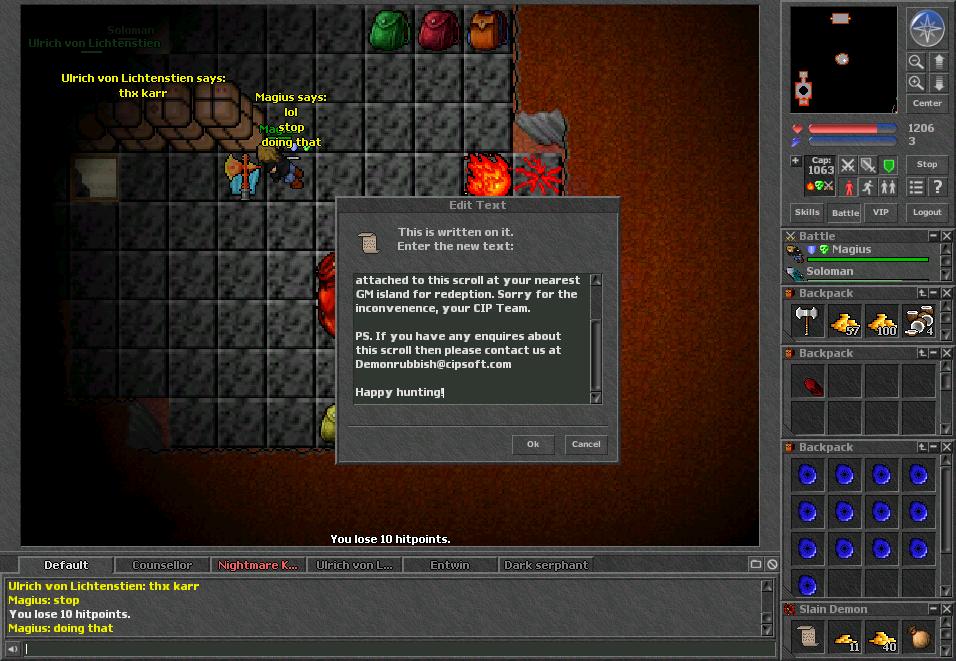
The parchment was not shitting you, moving the parchment summoned 4 demons equally spaced by the coffin and let me tell you there is very few experiences like this. Most people dropped dead or fled in terror to the stairs to the west. If you somehow distracted them long enough to check inside the coffin you would find a bag which contained key 6010, a Bone, Stealth Ring, 2 Talons, and a Skull.
Back at the Hero after the Dragon you could head north and down a ladder to a room filled with creatures that would attack you when you dropped down. You could fight your way through them to the south. Along the way to the south on the black marble floor was four rooms which had ladders leading down into two additional levels. Each of these room had creatures you could kill which were more exotic creatures like Monks, Heroes, and Priestess. I believe there was a multi shot UH rune that spawned here which you could take which was quite rare. One of the rooms had the largest Hero spawn in Tibia consisting of three Heros on the lowest level. These lower levels were a brick room surrounded by Lava outside.
Continuing along the past to the east was a room to the north which was filled with Mino Guards and Priestesses which looked like a mini barracks. There were two floor switches in here which required two people to stand on to open a wall to the east. The path to the south led down to a large room that opened to a lava pit and was filled with many different creatures. A Warlock also spawned in this room which was dangerous with everything else that was in it, including the new Stalker. I think the chests had some daily spawns too but it wasn’t anything great as far as I remember, nothing like the Vampire Shield it has now.
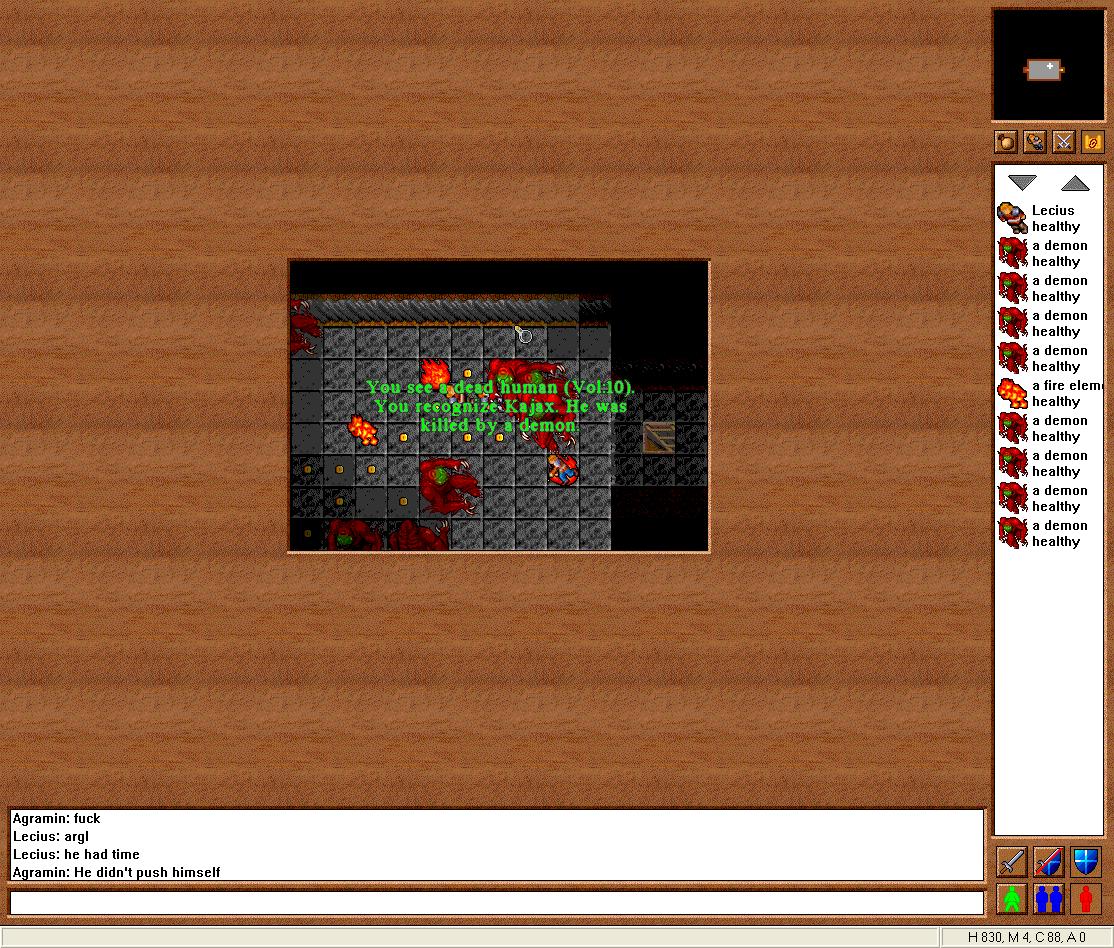
If you continued down the path to the east at the very end was an open pit which had a portal that would spawn you to the floor below. In this room was the newly readded Demon and it was very tough. If you were squeamish during the fight you could jump up the staircase and head back up, but it was a one-way trip so you would have to take the portal again to rechallenge the Demon. There was also a staircase leading further down which would take you to the bottom floor which had a kind of island in the lava which spawned two Demons at the end. Both these spots were very popular, especially the single Demon which became a rite of passage to solo like the Dragon. Demon dropped incredible loot but where very hard to kill and cost a considerable amount of SD. Blockers wouldn't earn much experience so many made deals with the mage they brought so they would be compensated for their time.
An interesting thing to note is that the Demon’s introduction was not a surprise as it had appeared in some of the tests before officially launching in game. As far back as May 13, 2001, WoT recounted that the Demon had a significant update compared to its previous version which made it every bit as frightening as its Daemon counterpart. If you look at this WoT monster statistics, you will notice that the Demon dropped the new Coconuts which was exclusive to Demons.
If you returned to the open pit and headed back west, you would find a door to the north which had five Fire Elementals which would attack you all at once if you opened it up. A second door was just a few squares above them which was also locked, and this is where you would use the Parchement key. Just a bit further up was the wall we talked about earlier that opened once two people were standing on the switch in the other room.
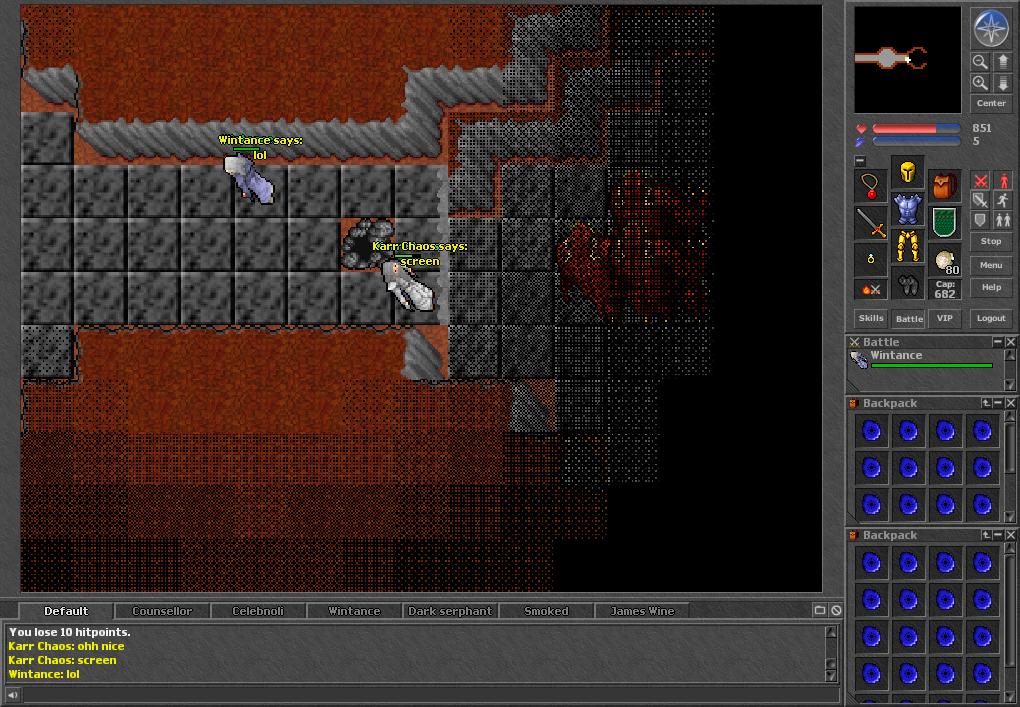
Once you had two players stand on the switch you could squeeze through and dodge the fire fields that were on the way. At the end of the path was a fearsome sight and your next challenge. 8 Demons milled about in an open pit with a ladder leading down. This was often fatal but there was a trick to navigating the area safely, a hidden PZ on certain squares could be found if you stepped correctly and got to the other side. You couldn't see what tile was a PZ was so you would only know that you took the wrong path if you were attacked after moving. Learning the pattern was a very slow process and cleaning the room was too difficult as you would be attacked by most of the red beasts at the same time.
Crossing the other side, you could take the ladder up two floors to another path with fire fields. A hole at the end took you to a small room below which had a rope up to a room above which had a ramp leading to a small platform, and a ramp leading down the other side.
Taking the ramp down led to a single Demon and was a popular place to level. There was an overlook to the east which had a hole down to a room with five more Demons milling about. After you steeled yourself and jumped down the hole you would not find yourself in that room but one below that had two Demons in a hall with fire fields. A Staircase to the west would take you up two flights of stairs back to the previous room. The five Demon room could be hunted by levitating off the edge, but this was risky and generally not worth it.
At the end of the hall was a ladder which took you to the floor below where four Demons in a white tiled room resided. Once you cleared the Demons in this room you could search for the leaver in the east side area which would drop a chest in the west. This chest contained the Blue Tome, 8 Small Amethysts, Ankh, Demon Legs, Guardian Halberd, Ring of the Sky, Dwarven Axe, and Medusa shield. Most of these items were outrageously rare. The quest was meant to only spawn once like most normal big treasure items but a mistake in the coding made it spawn every time at save. Players wouldn’t know of this yet because it was very hard to get to. I think it was Bubble who got it the first time but didn’t return as she thought it was a one-shot quest. Some months later another team tried it, and tried it the next day which produced more rewards.
Back at the Fire Elementals near the wall was another passage to the south. The Annihilator didn't exist yet, so I think I remember the end of the path just being a dead end. Along this route you would find a broken wall that led to a dirt path that connected to another black marble hall. The stairs here led down to an open area with lava everywhere. Dropping down another staircase led to a black marble walkway that formed the outline of a square. There was a mini three-story tower to the south that had a Fire Elemental and a larger four-story tower to the west which had a Demon on the top floor. This room looked like a place where magic might happen and had a library shelf on the north wall though I don't recall any books being present. This Demon was one of the more easy spawns to get to and was changed to Fire Elementals after the Demon here was killed too often for CIPs liking.
KM remarked on the island's construction that he received "a rough map with areas, like where the town should be, where which levels should hunt" from CIP. He examined the provided area and decided to put in the physical boundaries like the mountain and trees to wall out any of the dangerous monsters from being lured in town. He remakes that "some ideas had to be dropped or 'resized'. I would have added a whole magic city, build of ivory towers in some sea, but there was no space left to do that." Despite the limitations being somewhat removed through later map extensions, the additions KM devised have never been added.